As most of you know I have worked in schools as an art teacher (15+ years), as well as in rehabs as an Expressive Art Specialist (another 15+ years). My expertise is to help my students discover more about themselves through…
the Power of ART.
Murals are an ideal way to help students feel accomplished and more comfortable in a group.
I have facilitated murals for kids in schools, students in rehabs, company team building, birthday parties, and even for several memorials. Once on a farm in Wisconsin we turned a one story horse barn into a western town… complete with saloon, cafe, general store, livery stable, bank, sheriff’s office, and gun smith.
There were 14 students of various ages and we designed & painted the whole summer. It turned out fabulous and we even had our picture in the local paper. (Actually there is much more to this story, but that’s for a later blog)
This “no-fail,” art project has a few directives that are important to the learning process.
First, obviously, you need a space to paint on. This can be a wall, a floor, a canvas, a billboard, furniture, etc.
My primary motivation in this lesson is to have everyone feel as though they are a member on a team. First we discuss that everybody has certain talents and when we understand how we all are uniquely different we can move forward in the process. It’s like pieces in a puzzle, all coming together.
1.) Find and prepare a space to paint on
2.) Decide together on a theme (always start with a lengthy discussion and take notes)
3.) Draw the idea in chalk on the wall (easy to erase with a damp rag)
4.) Discuss the design again and make changes accordingly (re-visit the discussion frequently to see if adjustments are needed)
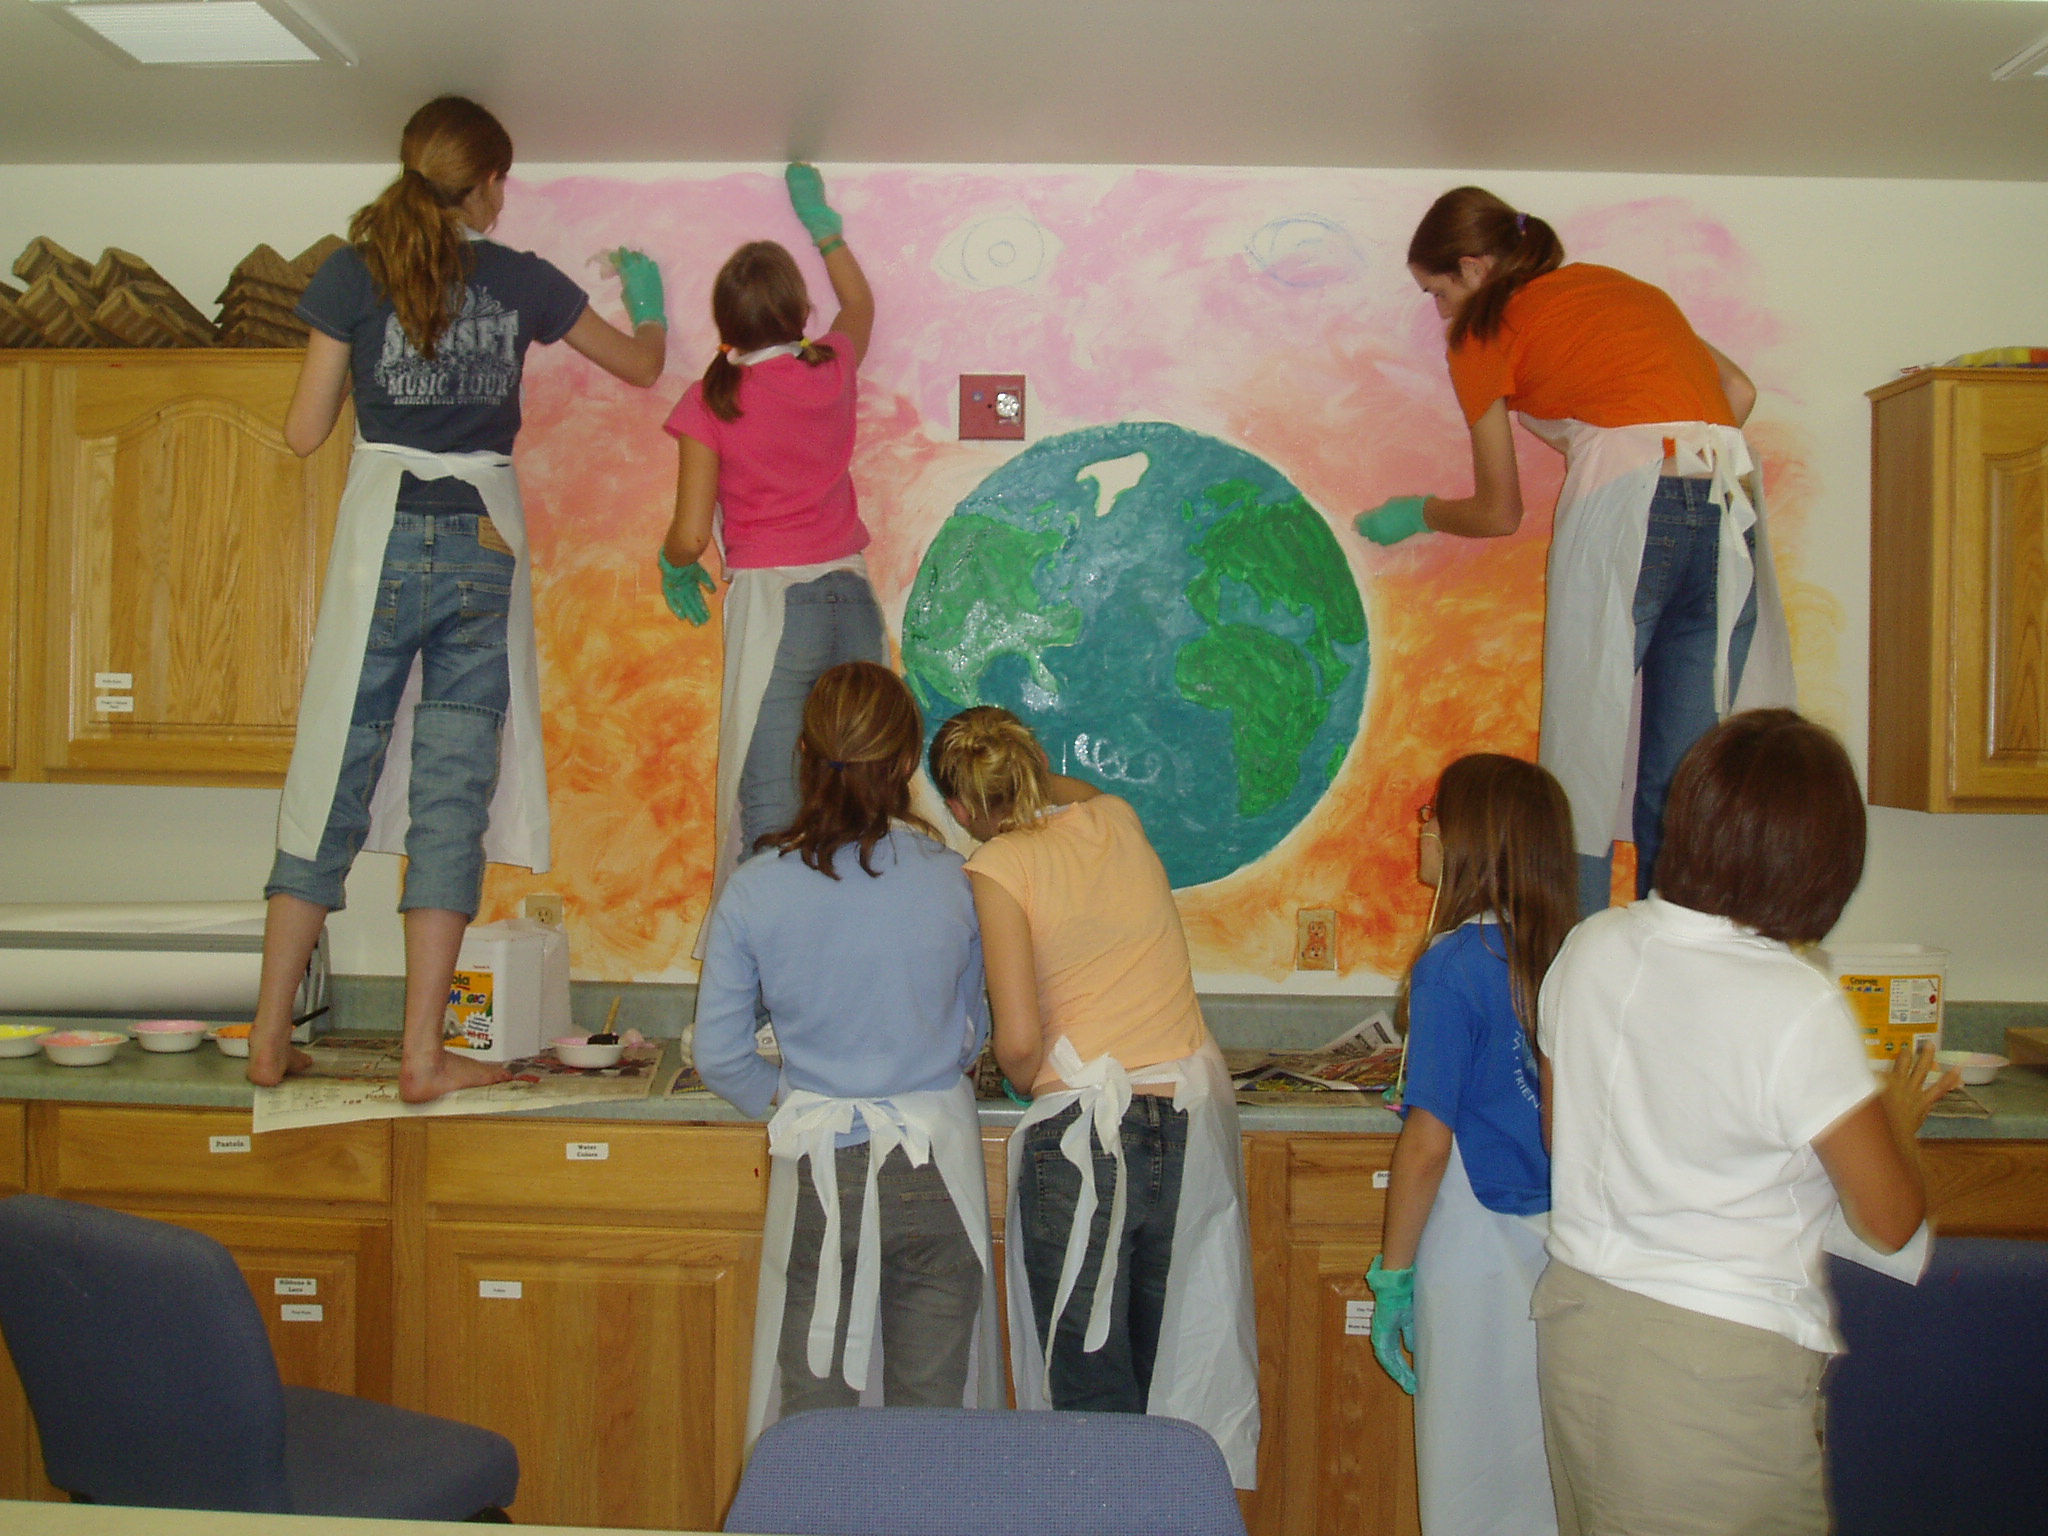
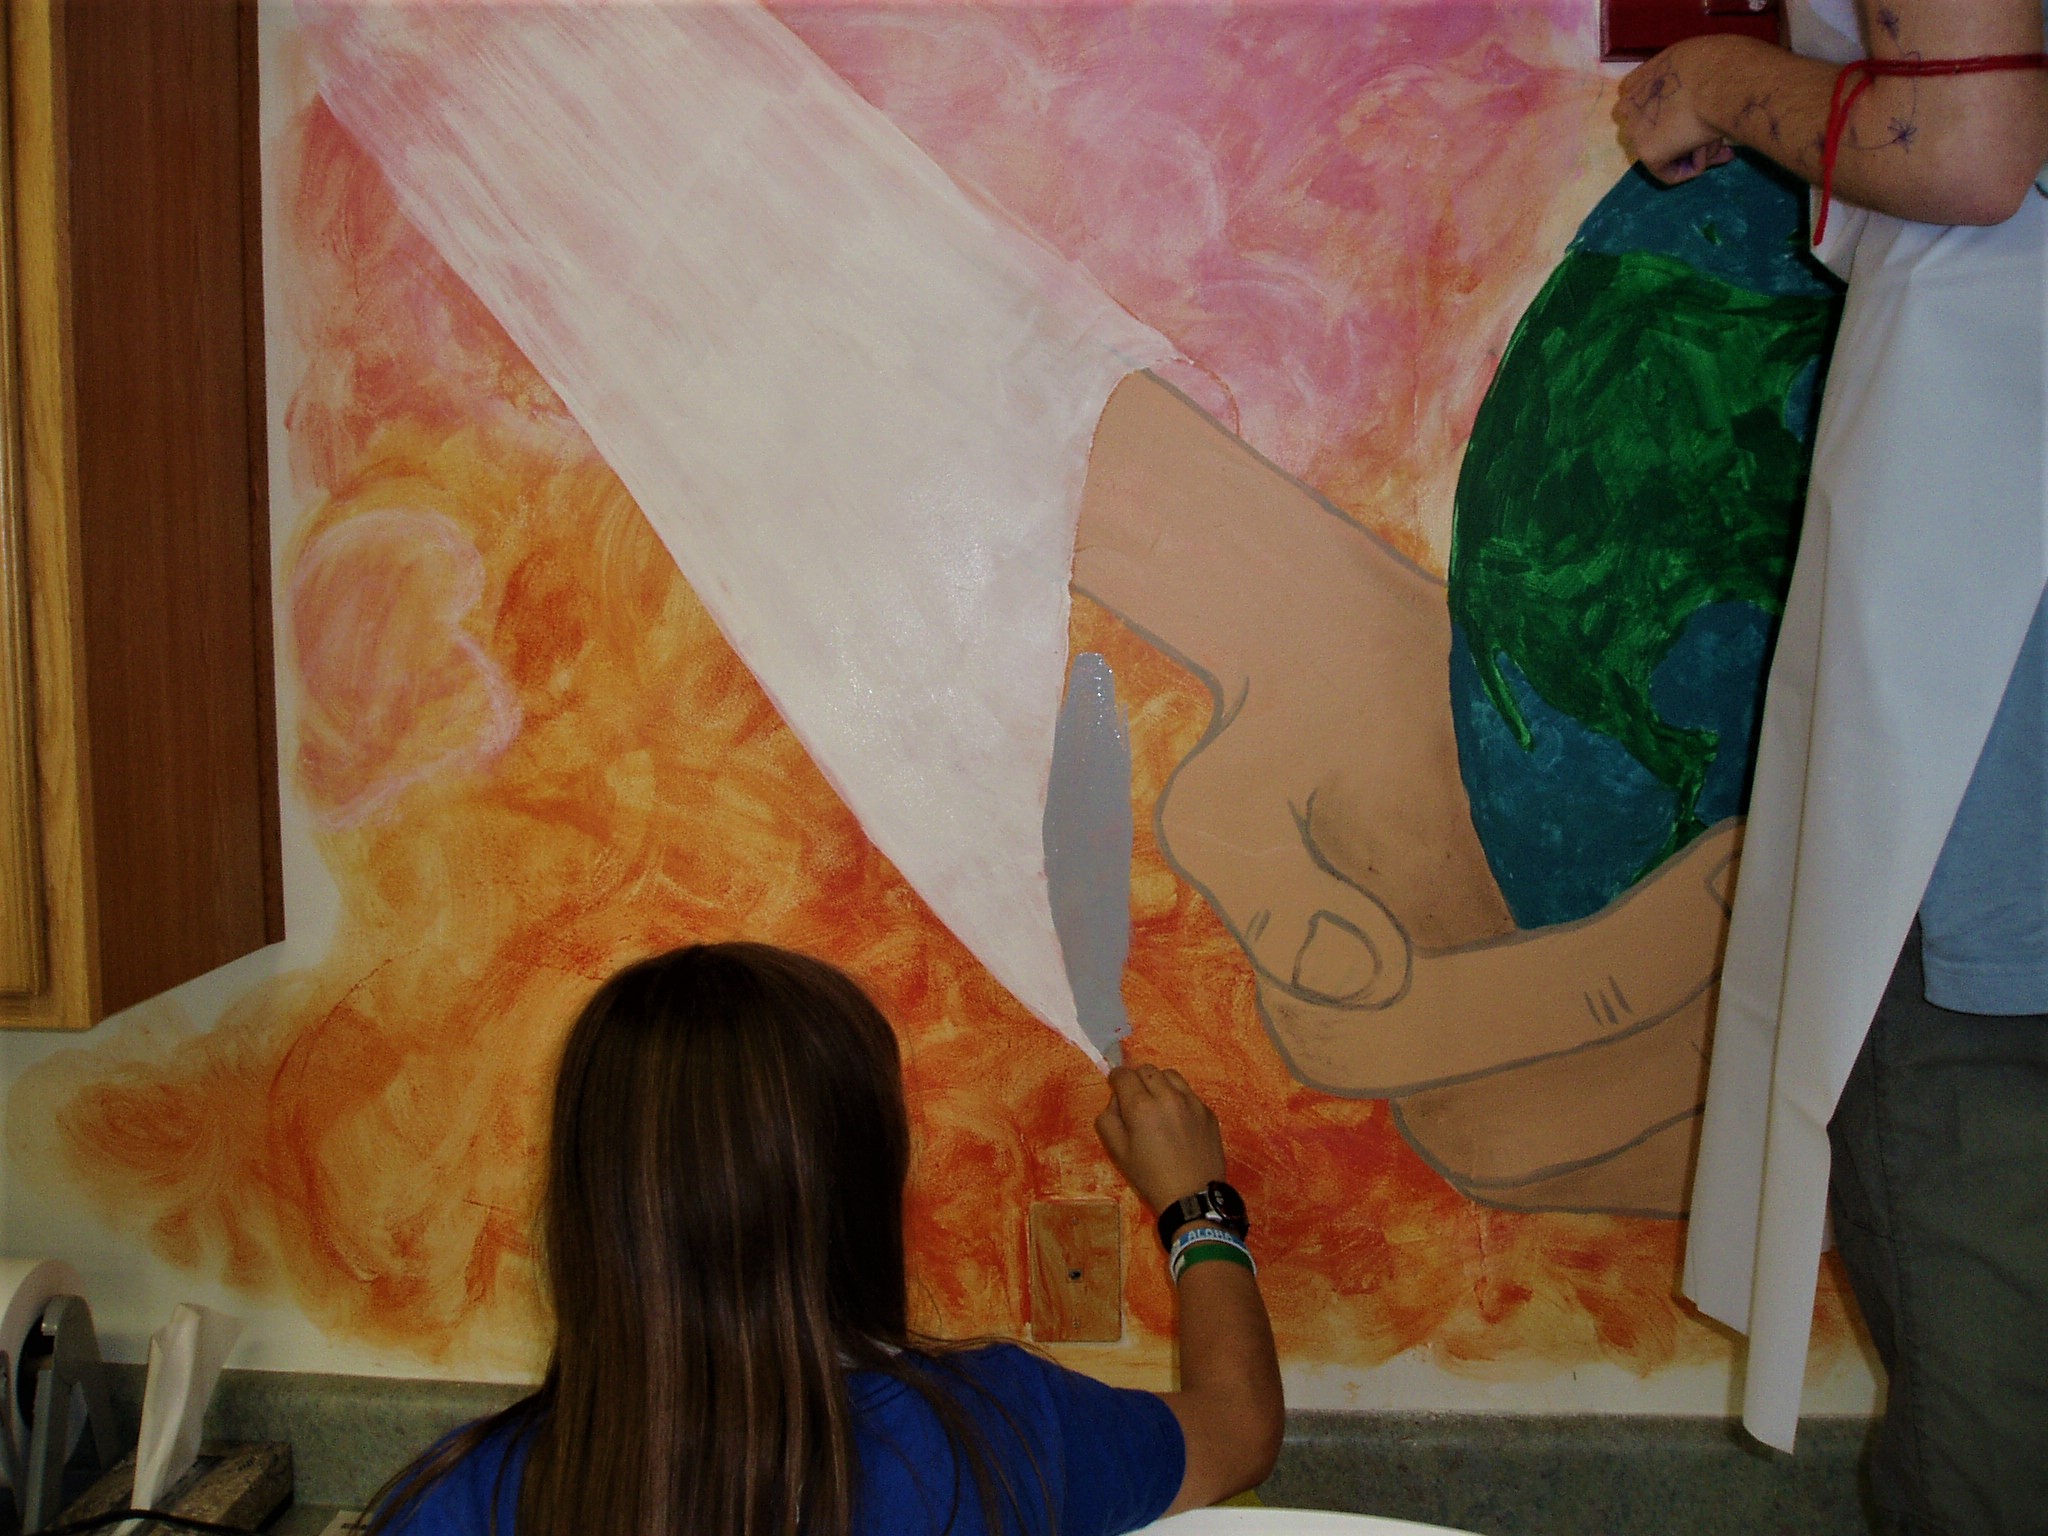
5.) Start with painting the large background areas first (this part is for students who are not comfortable with their talent)
6.) Then paint the medium size shapes (overlap when necessary)
7.) Finally paint the detail (some students are more comfortable painting and that is good)
Some talking points are:
*Perspective
*Overlap
*What our talents are (we all have them)
*What to do to help the painters (wash brushes, mix colors, move drop cloth, etc.)
Here are some examples of murals we have created:
1.) An entire wall in a rehab center

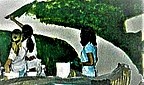

Stone path are shapes that fit. They get smaller the farther up. Students add texture and moss with a sponge.

All the students designed one flower or butterfly and made it larger in the foreground,
smaller and higher on the wall for the background.
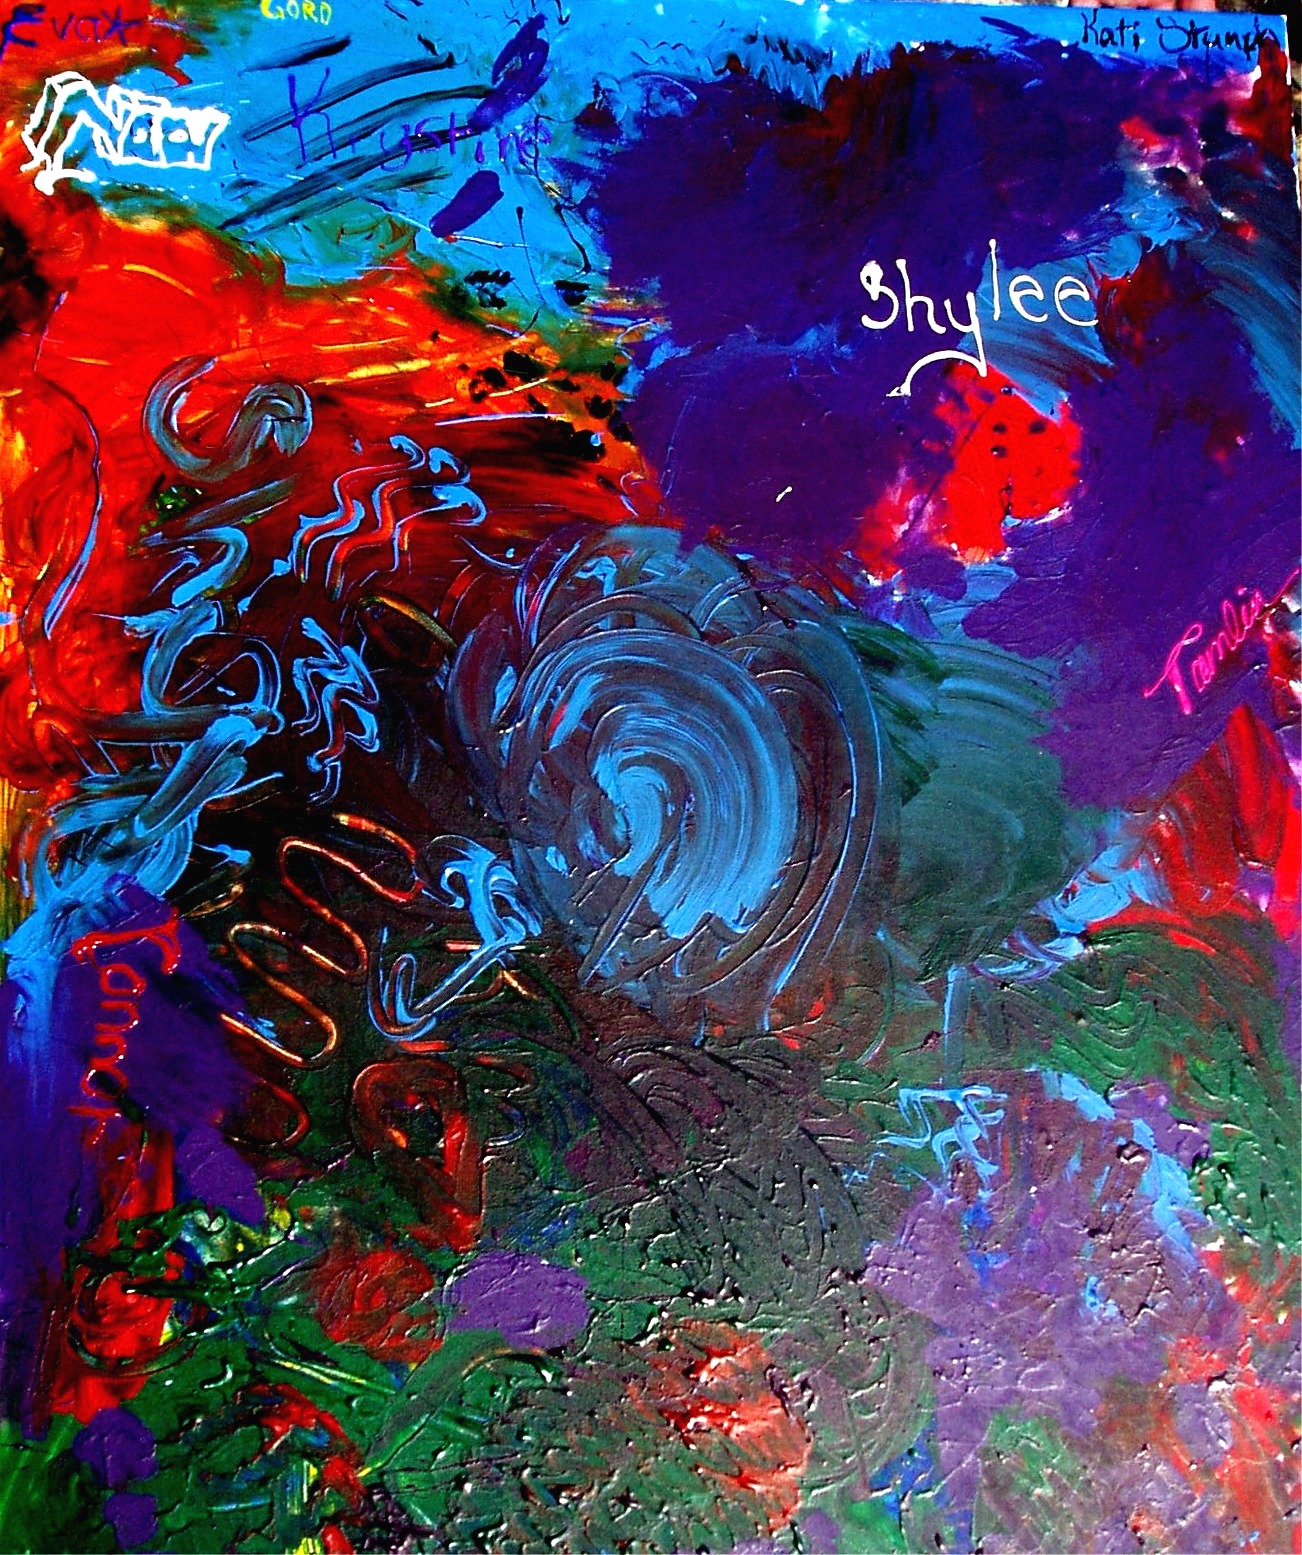
2.) A group mural for a birthday girl:
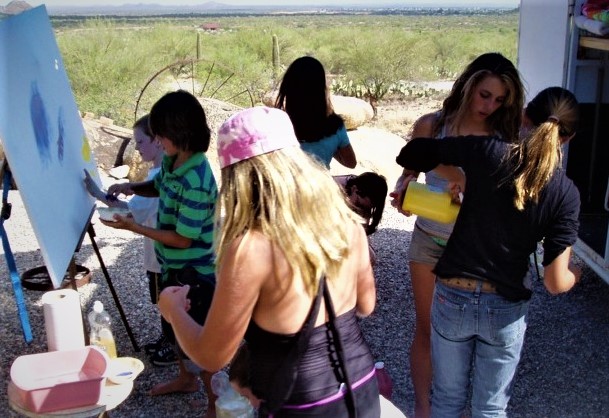
3.) A wall in my Arizona art room:
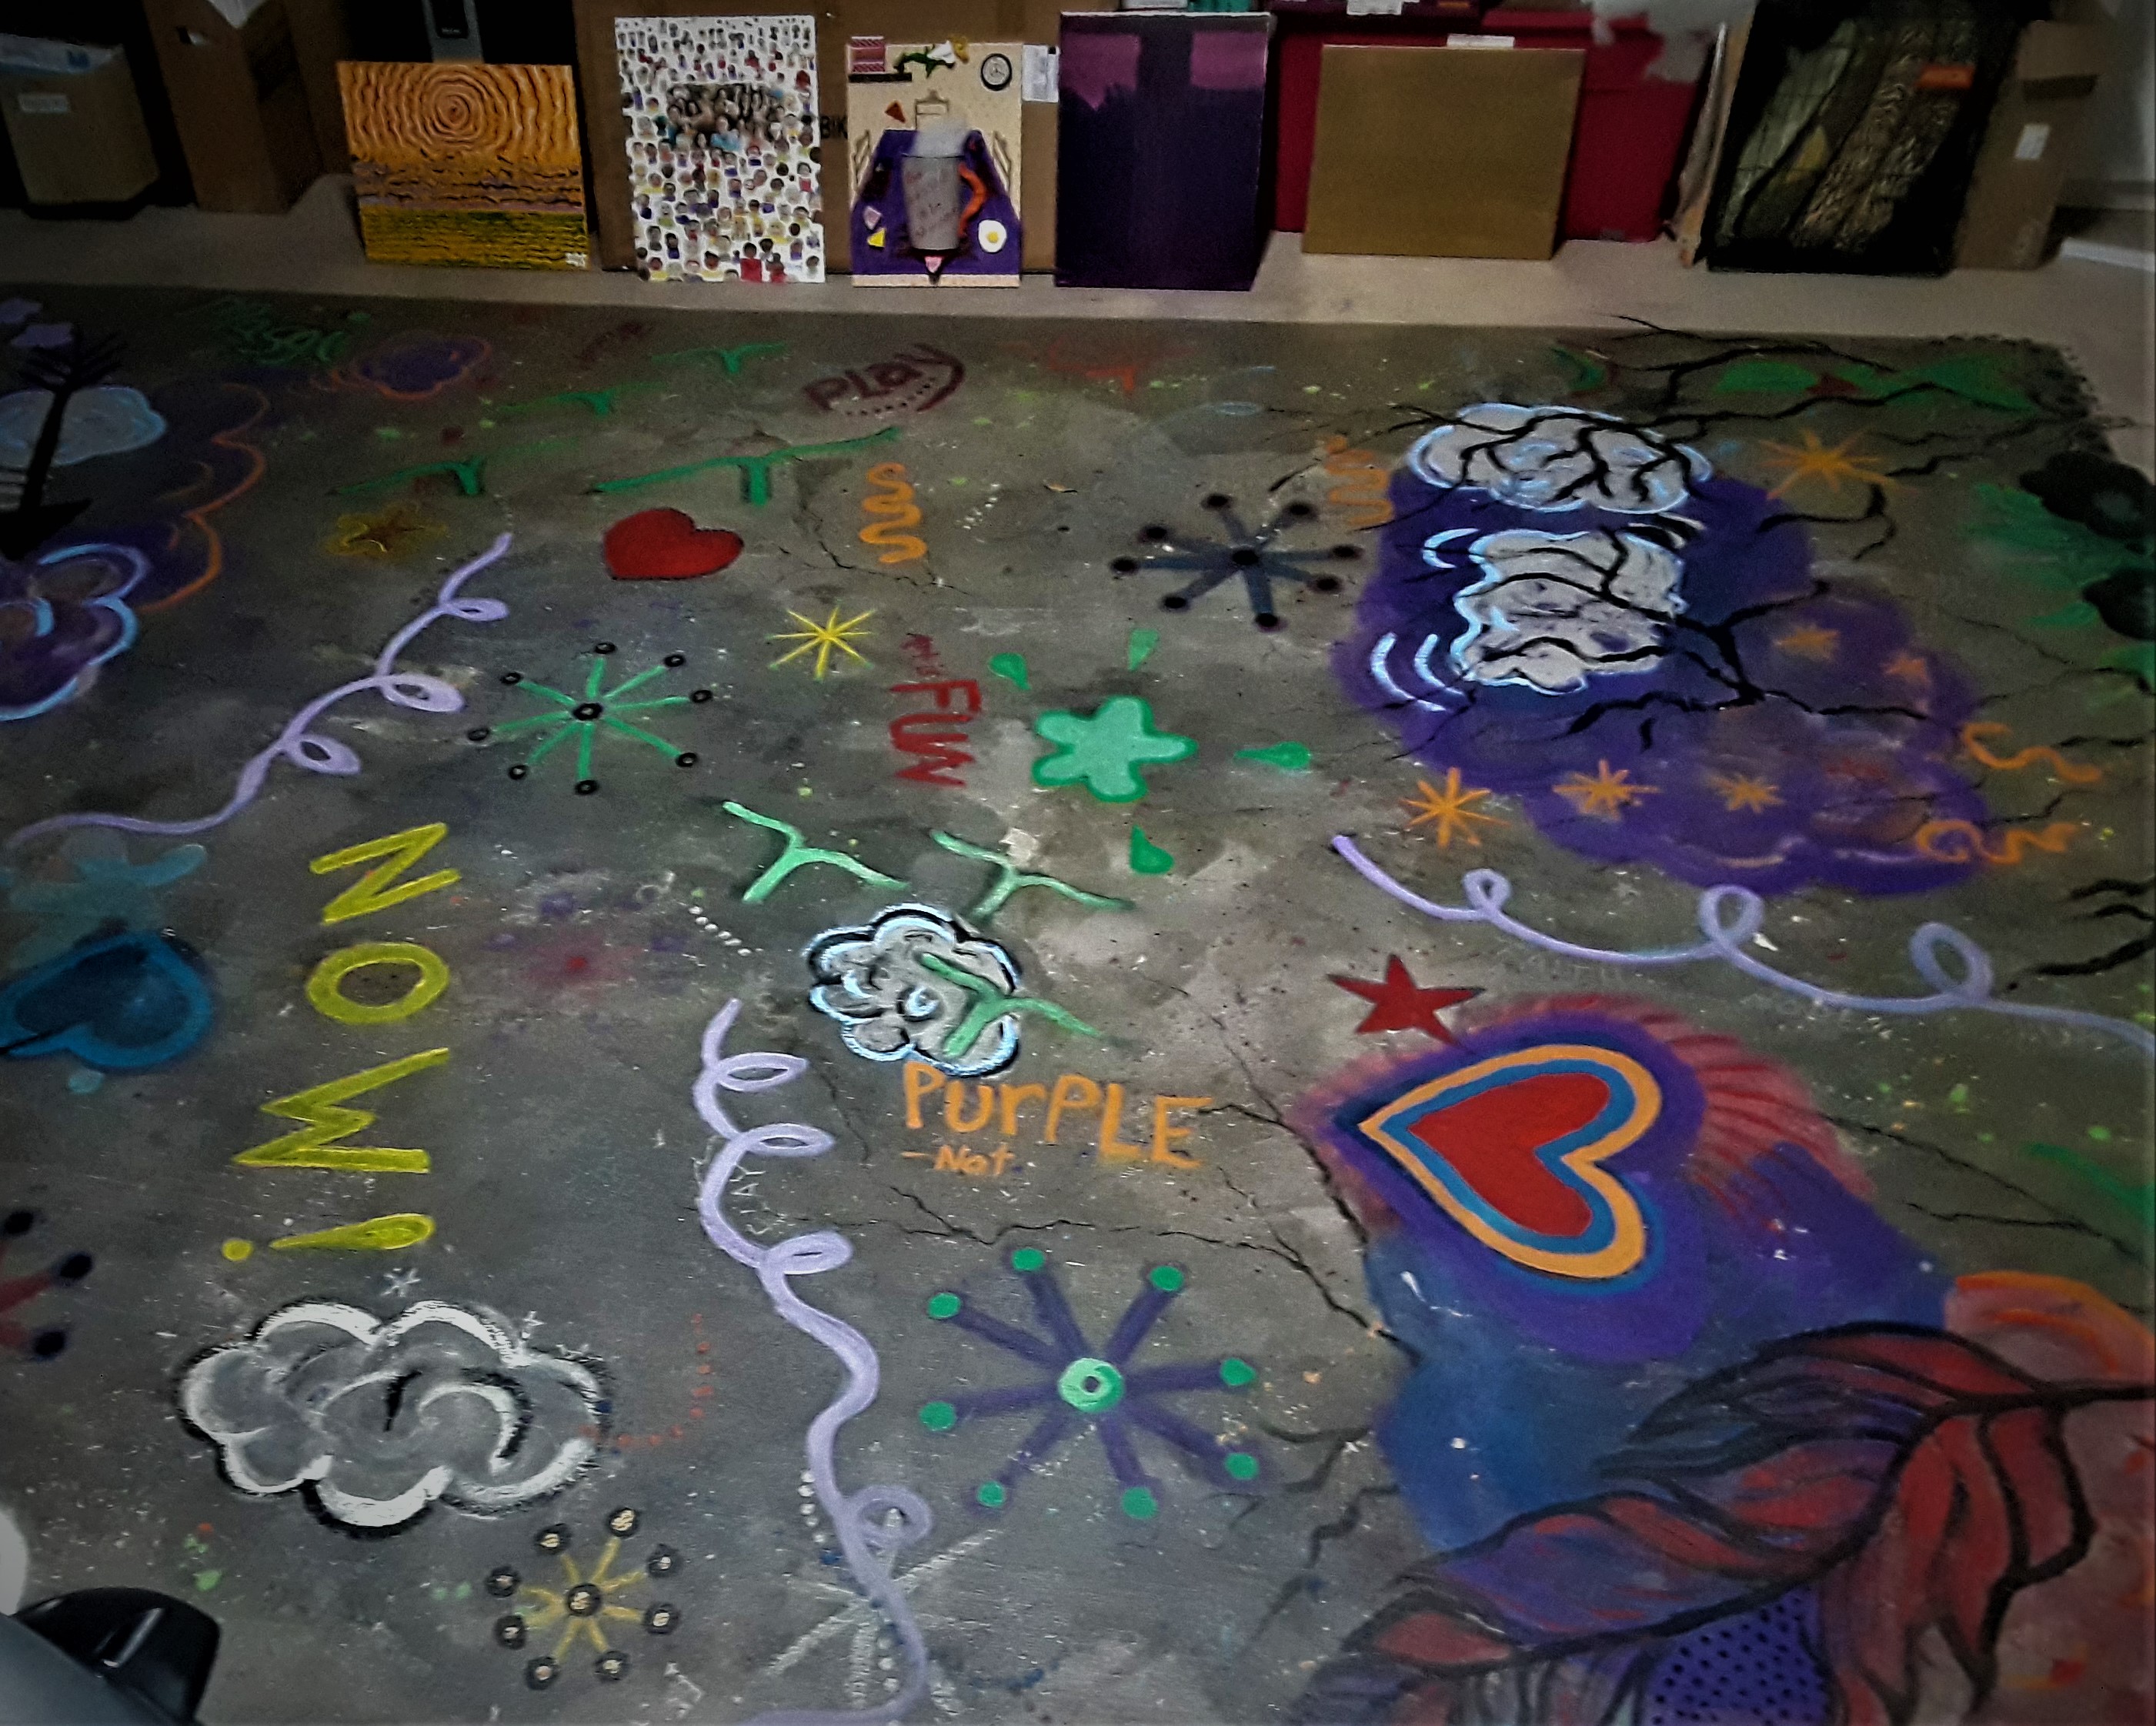
4.) The floor in my Fairhope studio… constantly being added to and signed.
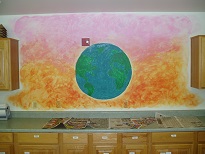
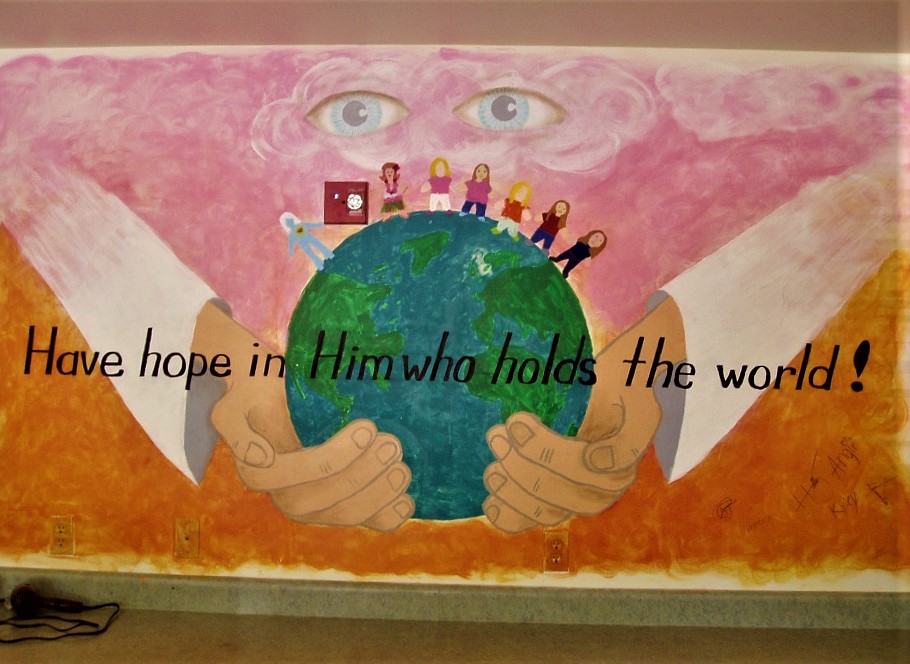
5.) A canvas banner at a spiritual retreat
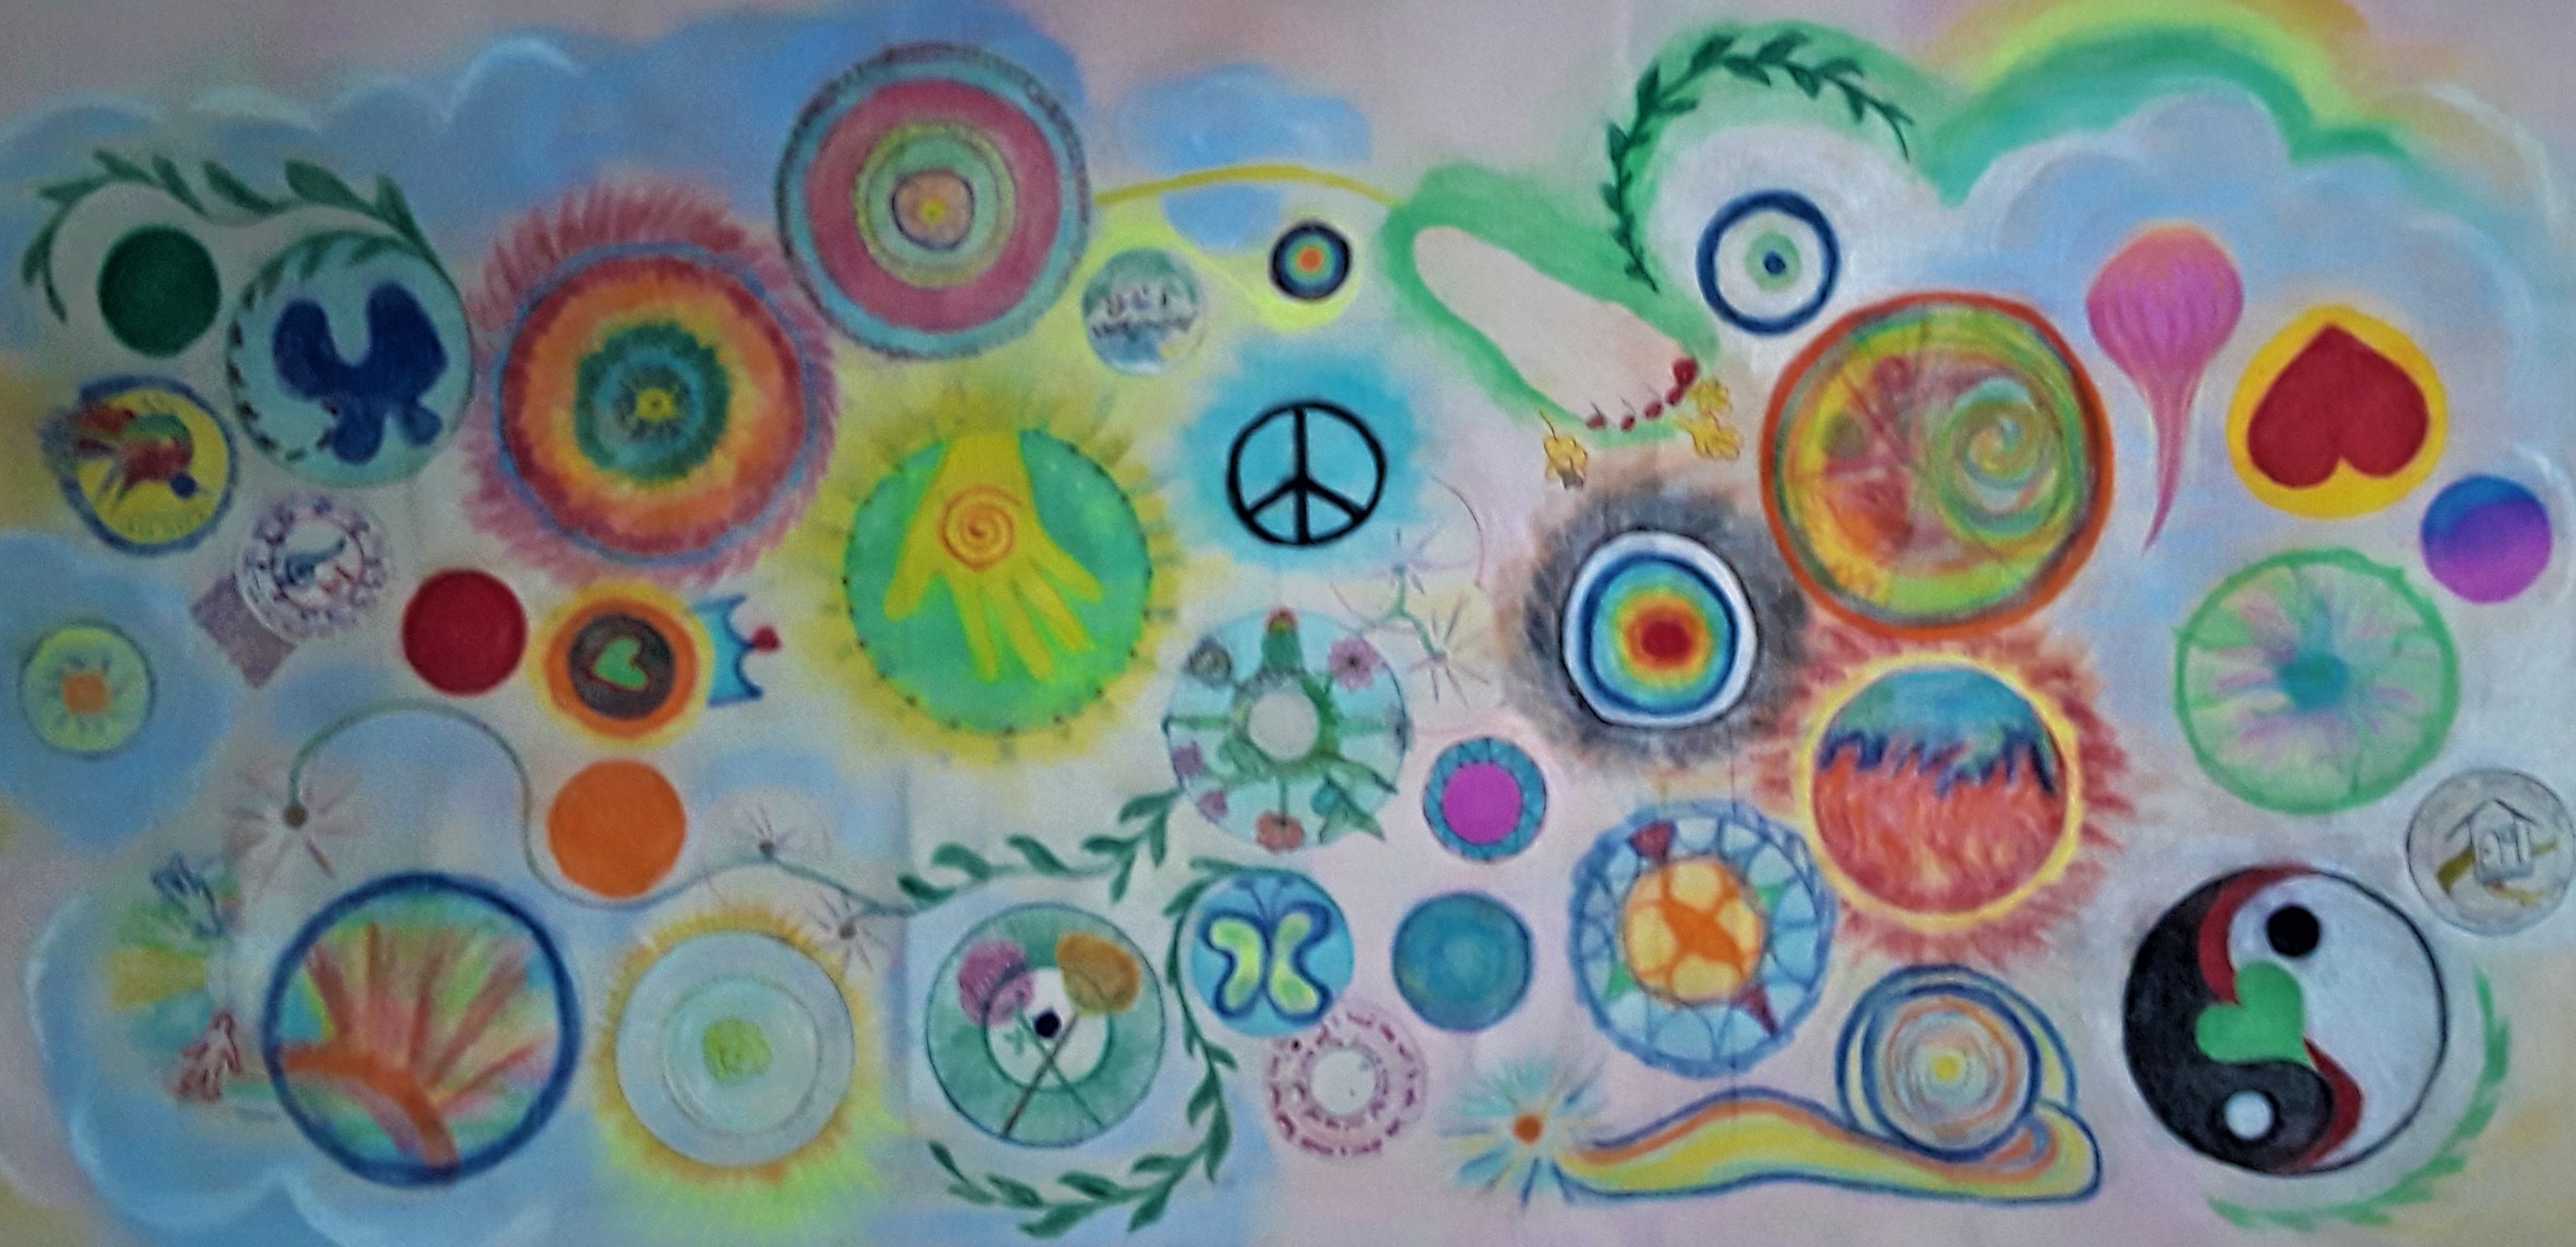
After the mural is completed, in all the above instances, I had my students step back and see the entire picture. They understand that their part is significant to the whole.
They don’t see the mistakes they thought they made. Instead my students feel a beneficial part of a team.
Just sayin’,
![]()